Category Archives: Tips

Making Bokashi Bran with Shredded Newspaper

For the last 6 months or so, I have embarked on a journey to finding that closed “system” that allows me and my family to reduce our garbage volume while enriching/fertilizing my vegetable garden which in turn feeds my family and reduces our grocery bill. Who wouldn’t like that?

I started out with traditional composting – my second attempt with lots of research and efforts. And boy, the compost piles really stunk probably due to neglects and ignorance! Most of the homes in our area simply are not large enough to create enough of a critical mass/pile (3’x3’x3′) or ~1 cubic yard to be successful with the traditional compost. I have yet to find a foolproof way to do traditional compost without creating a big mess and smell.

I stumbled on Bokashi composting as an alternative to the traditional composting, thanks for many video channels on youtube and other reference sites. Initially, I bought a Bokashi compost kit that includes a special bin and a bag of Bokashi bran for me to sprinkle over the kitchen waste. It works really well in composting continuous stream of kitchen waste without the bad smell. This was fine until I found out that each bag of Bokashi bran costs about $10. Each bag lasts about 2 months or so. It might be cheaper to just buy 3 cubic feet of compost!

So I decided to find out how to make my own Bokashi bran and made a how-to video.

Bokashi bran are usually made of wheat bran inoculated with the beneficial bacteria – cultured in “EM”. Wheat bran works well but is hard to find in bulk and relatively expensive compared to shredded old newspaper. Here I show you how to make Bokashi “Bran” with shredded newspaper instead of wheat bran.

The EM can be purchased here. 12oz bottle should be sufficient and good for a couple of years for most families.

DIY Curb Ramp for Cars

I have an extra car that’s parked on a RV (Recreational Vehicle) spot that doesn’t have a driveway (ramp). To save my cars’ shock absorber, I needed to get a car ramp. The cheapest plastic ramp I could get costs upward of $45 at Amazon (RhinoGear 11909). I thought it would be fun to make one.

At first, I made one with cement, the same one used to make fence post. It cost about $5. But structurally it’s brittle (I broke one of them because it didn’t mix the cement well) and heavy (40+ lbs, difficult to store away when not used, instead of 10 lbs when made of wood). So I came up with this idea of using a 8′ long 2×4 when it was on sale at Home Depot for less than $3. I cut the 2×4 (1.5″x3 3/8″x8′) into the following segments:

3x 16″ = 48″ (for the parallel-to-curb pieces)
4x 12″ = 48″ (for the orthogonal-to-curb pieces)

Then I stacked them like match sticks. Next I drilled them using spade drill bits:
3/8″ first to drill through the stack. Then I use 5/8″ spade drill for just 1/2″ deep for the hex nut side (so the hex doesn’t stick out) (top side of the ramp) and use 3/4″ spade drill for just 1/2″ deep on the nut/bottom side for just 1/2″ so it’s easier to tighten the nuts on the bottom. The final pictures are here:

2013-07-17 08.43.09

2013-07-17 08.42.55

Bottom View:
2013-07-21 12.52.17
Now, here’s the final test:

Update:
Check out how I made it again here.

Sonicare Toothbrush Repair

My daughter’s Sonicare Pro Electric toothbrush broke. It doesn’t vibrate any more. I googled around and saw the Lithium Ion battery may be the culprit. So I opened it up to look around. I verified that the battery is registering 4.0V, which is still fine. When I bent the stem a bit, the toothbrush started vibrating again. I determined that there must be a broken trace on the printer circuit board (PCB) probably induced by the vibration or a kid’s abuse. I decided that it’s not worth my trouble to revive the unit. It was difficult to repair as along the way, I broke the inductive wire connected to charge the battery. My decision – discard/recycle it. It not worth the trouble. It may be a fun project to root cause the problem but not for me. I have better things to do. It costs ~$60 to purchase a new one.

My Kombucha Coffee!

I’m not much into cooking or making culinary master pieces. But last couple of month, my wife was into making Kombucha tea, which is a yogurt-like, probiotic drink. It’s known to enhance the digestive health and boost one’s immunity. I drink a 4~6-oz glass daily. It tastes like a mixture of tea and vinegar. There are lots of resources on the net that teaches you how to make it yourself. My favorite one is here.

I thought Kombucha tea was not challenging enough – Kombucha coffee may be more interesting. So I googled around and sure enough, there are people making Kombucha coffee. I decided to experiment with the following recipes:

  • 2 (1) quarts Freshly Brewed Plain Coffee
  • 1/2 cup (1/4 cup or 4 Tsp) Sugar
  • Kombucha Scoby (from Kombucha tea or mix in 30% volume from Kombucha tea)
  • I first fill up 70% of the 1-quart jar with the hot freshly-brewed coffee then mix in 4 Tsp of ground white sugar, then I stir/shake the jar without using any utensils to avoid any contamination with the metal. After it’s cooled to room temperature, I mix in 30% of the Kombucha tea. Since the coffee taste is much stronger than the tea, the coffee taste still dominates. One may choose to use a Kombucha scoby, then he/she may fill up to 90% of the jar. Seal the jar with a coffee filter paper and rubber band around it and just let it sit.

    In the first week of the development, the surface of the coffee looks pretty gross as if mushrooms are growing on top of it and a jelly fish floating beneath it. After two weeks or so, the scoby begins to form. The timing may vary depending on your room temperature. You’d need to keep it as warm (70F~80F) as possible.

    It takes a bit loner than usual because of the fall/winter weather. My kitchen temperature stays around 65~70F most of the time. It’s been more than 4 weeks now and my Kombucha coffee looks like below:

    Here’s a zoomed-in shot of the scoby floating on top:

    How does it taste? It tastes like a mixture of coffee and vinegar or sour coffee. I suppose I can mix the Kombucha coffee with dairy cream or soy milk to make a sour coffee latte. But I like it black. Cheers! To Health.

    Motion Sensor Security Flood Light Stays/Stuck On (does not shut off by itself) – How to Fix It

    My newly installed motion-sensor security flood light would stay on after being turned on by a motion event. I kept thinking there must be some kind of mammal animals with body heat like rats that it was detecting continuously. After a month, I determine that I have installed the flood light incorrectly. The motion sensor is picking up the heat from the light bulb because it’s too close to the motion sensor. Below is the original installation of the flood light. Notice how close the bulbs were to the motion sensor.
    Wrong way to set up the light

    By flipping the L-arm to the opposite direction (see below picture), now the light would stay on exactly for the 1-/5-/10-minute duration I set it to be (normally 1 minute to save electricity):

    Note how it’s set up in the original box:

    My lessons learned: follow the directions and check the manual. In the manual, it’s clearly stated that lamps need to be kept at least 1″ from the sensor and the trouble shooting guide has this issue identified as the possible cause.


    Appendix: Heath Zenith SL-5412 Manual

    T-junction Cast-Iron Drain Pipe from Hell

    Yesterday, I had learned a few lessons about plumbing, specifically drain rooting and paid dearly for it. And I also learned that rooters’ experience vary widely.

    The night before yesterday I got a call from one of the apartment tenant that the kitchen sink was backed up with sewer water. So I went to check it out. As I entered the unit, they told me the problem went away and apologized for the trouble. What a nice surprise! Life couldn’t be better when the tenant apologized for a problem that they no longer had. As I walked out, the tenant of the adjacent neighboring unit asked me to come check their plumbing as they were having some trouble with the sewer problem. As it turned out, they were having the same problem, except the sewer water spilled into the dish washer and the kitchen floor was flooded with the sewer water from the leaking dishwasher, which didn’t have the air gap – another pitfall for not having one. The sewer flooded the dish washer and spilled to the kitchen. The good news was that the problem had gone away. I scratched my head and thank my good fortune.

    So I drove home, the last tenant called my cellphone as I was able to reach home that the problem has come back: sewer water. I told her that I will check back tomorrow morning hoping the problem would disappear by tomorrow.

    The next morning, I called and found that problem didn’t go away after all. So I packed up my snake machine, tool box and headed there.

    Unfortunately, both units were now backed up with the same problem. I suspected both kitchen sinks were connected to the same line. I scooped up the black, smelly water, opened up the P-trap, and started snaking down the pipe. Didn’t budge. Fortunately, the adjacent toilets drained OK, allowing me to dump the dirty water into the toilet. Tried a couple more times. No change. So I snaked from the other unit – more than 4 times – no change, but now I discovered that the dirty water came out when water ran in the bathroom sinks. Not good. The problem was big. It’s not just the kitchen sinks. More could be involved. Later, I found that Unit#3 in the back has its sewer connects to the same line.

    I decided to call the professional. The first professional (yes, there were more) rooter came in with his professional Golitz 380 machine and kept the snake/cable turned and turned. He did it more than 6 times with some false successes in the middle for more than 2 hours. I was getting anxious as it was getting dark on Sunday and the Giants’ World Series game was about to start in a couple of hours, meaning most of the rooter professionals would be glued to the TV’s without a care for a sewer-flooded apartment. This guy told me that to fix the problem, he would need to route a water jet machine from the vent on the roof of the 2-story building to force out the stubborn sludge, which he cited was the source of the problem. And he didn’t have the machine and their company machine was more than 50 miles away and wouldn’t be available until 3pm the next day. Not good! He bid farewell and wished me luck without charging me for the work. Now I was really worried. I called the big-name rooter company, who I used before and who charged me dearly for fixing that problem.

    The guy showed up within two hours. He snaked with another bigger machine to no avail. I suggested that maybe we should look into the crawl space and see what’s going on down there. He agreed and as soon as he crawled in, he saw the problem. It’s the T-junction cast-iron drain pipe from hell. See below picture.

    The snake/auger was passing by the mainline and going to the opposite side. It wasn’t driven into the center line, which was plugged up. It’s no wonder that I and the first guy snaked more than 10 times without getting to the root cause of the problem. He proposed that we cut open the T-junction and installed a ABS T-junction that would have a better curvature to allow the head of the snake to enter the main line in the future. And it would cost me about $1,000 instead of the $300 for the snaking. I gave him to go-ahead as I was getting tired and had no strength to argue or bargain. “Get the job done tonight!”, I told him.

    It took him an hour to go out find the parts and another hour to fix the problem. He was able to snake after the T-junction was cut out, before assembling the new ABS T-junction (which I don’t believe can prevent snakes from passing through it acting like the old one but at least it could be easily disassembled to snake in as they were joined by rubber hose with clamps). The clog was only a few feet down the center line. He came out of the crawl space with drain water all over his back. He looked awful but he looked like a hero, a richly rewarded one, to me.

    In retrospect, I suspect the snake could have reached the center line if there is a “heavy” accessory tied to the tip of the snake, allowing it to drop into center line. And we could have tried many times had we estimated the distance from the sink, which was only < 10'. It would have helped to have a drain pipe schematic diagram for the entire building. And a better ABS elbow below should be used.
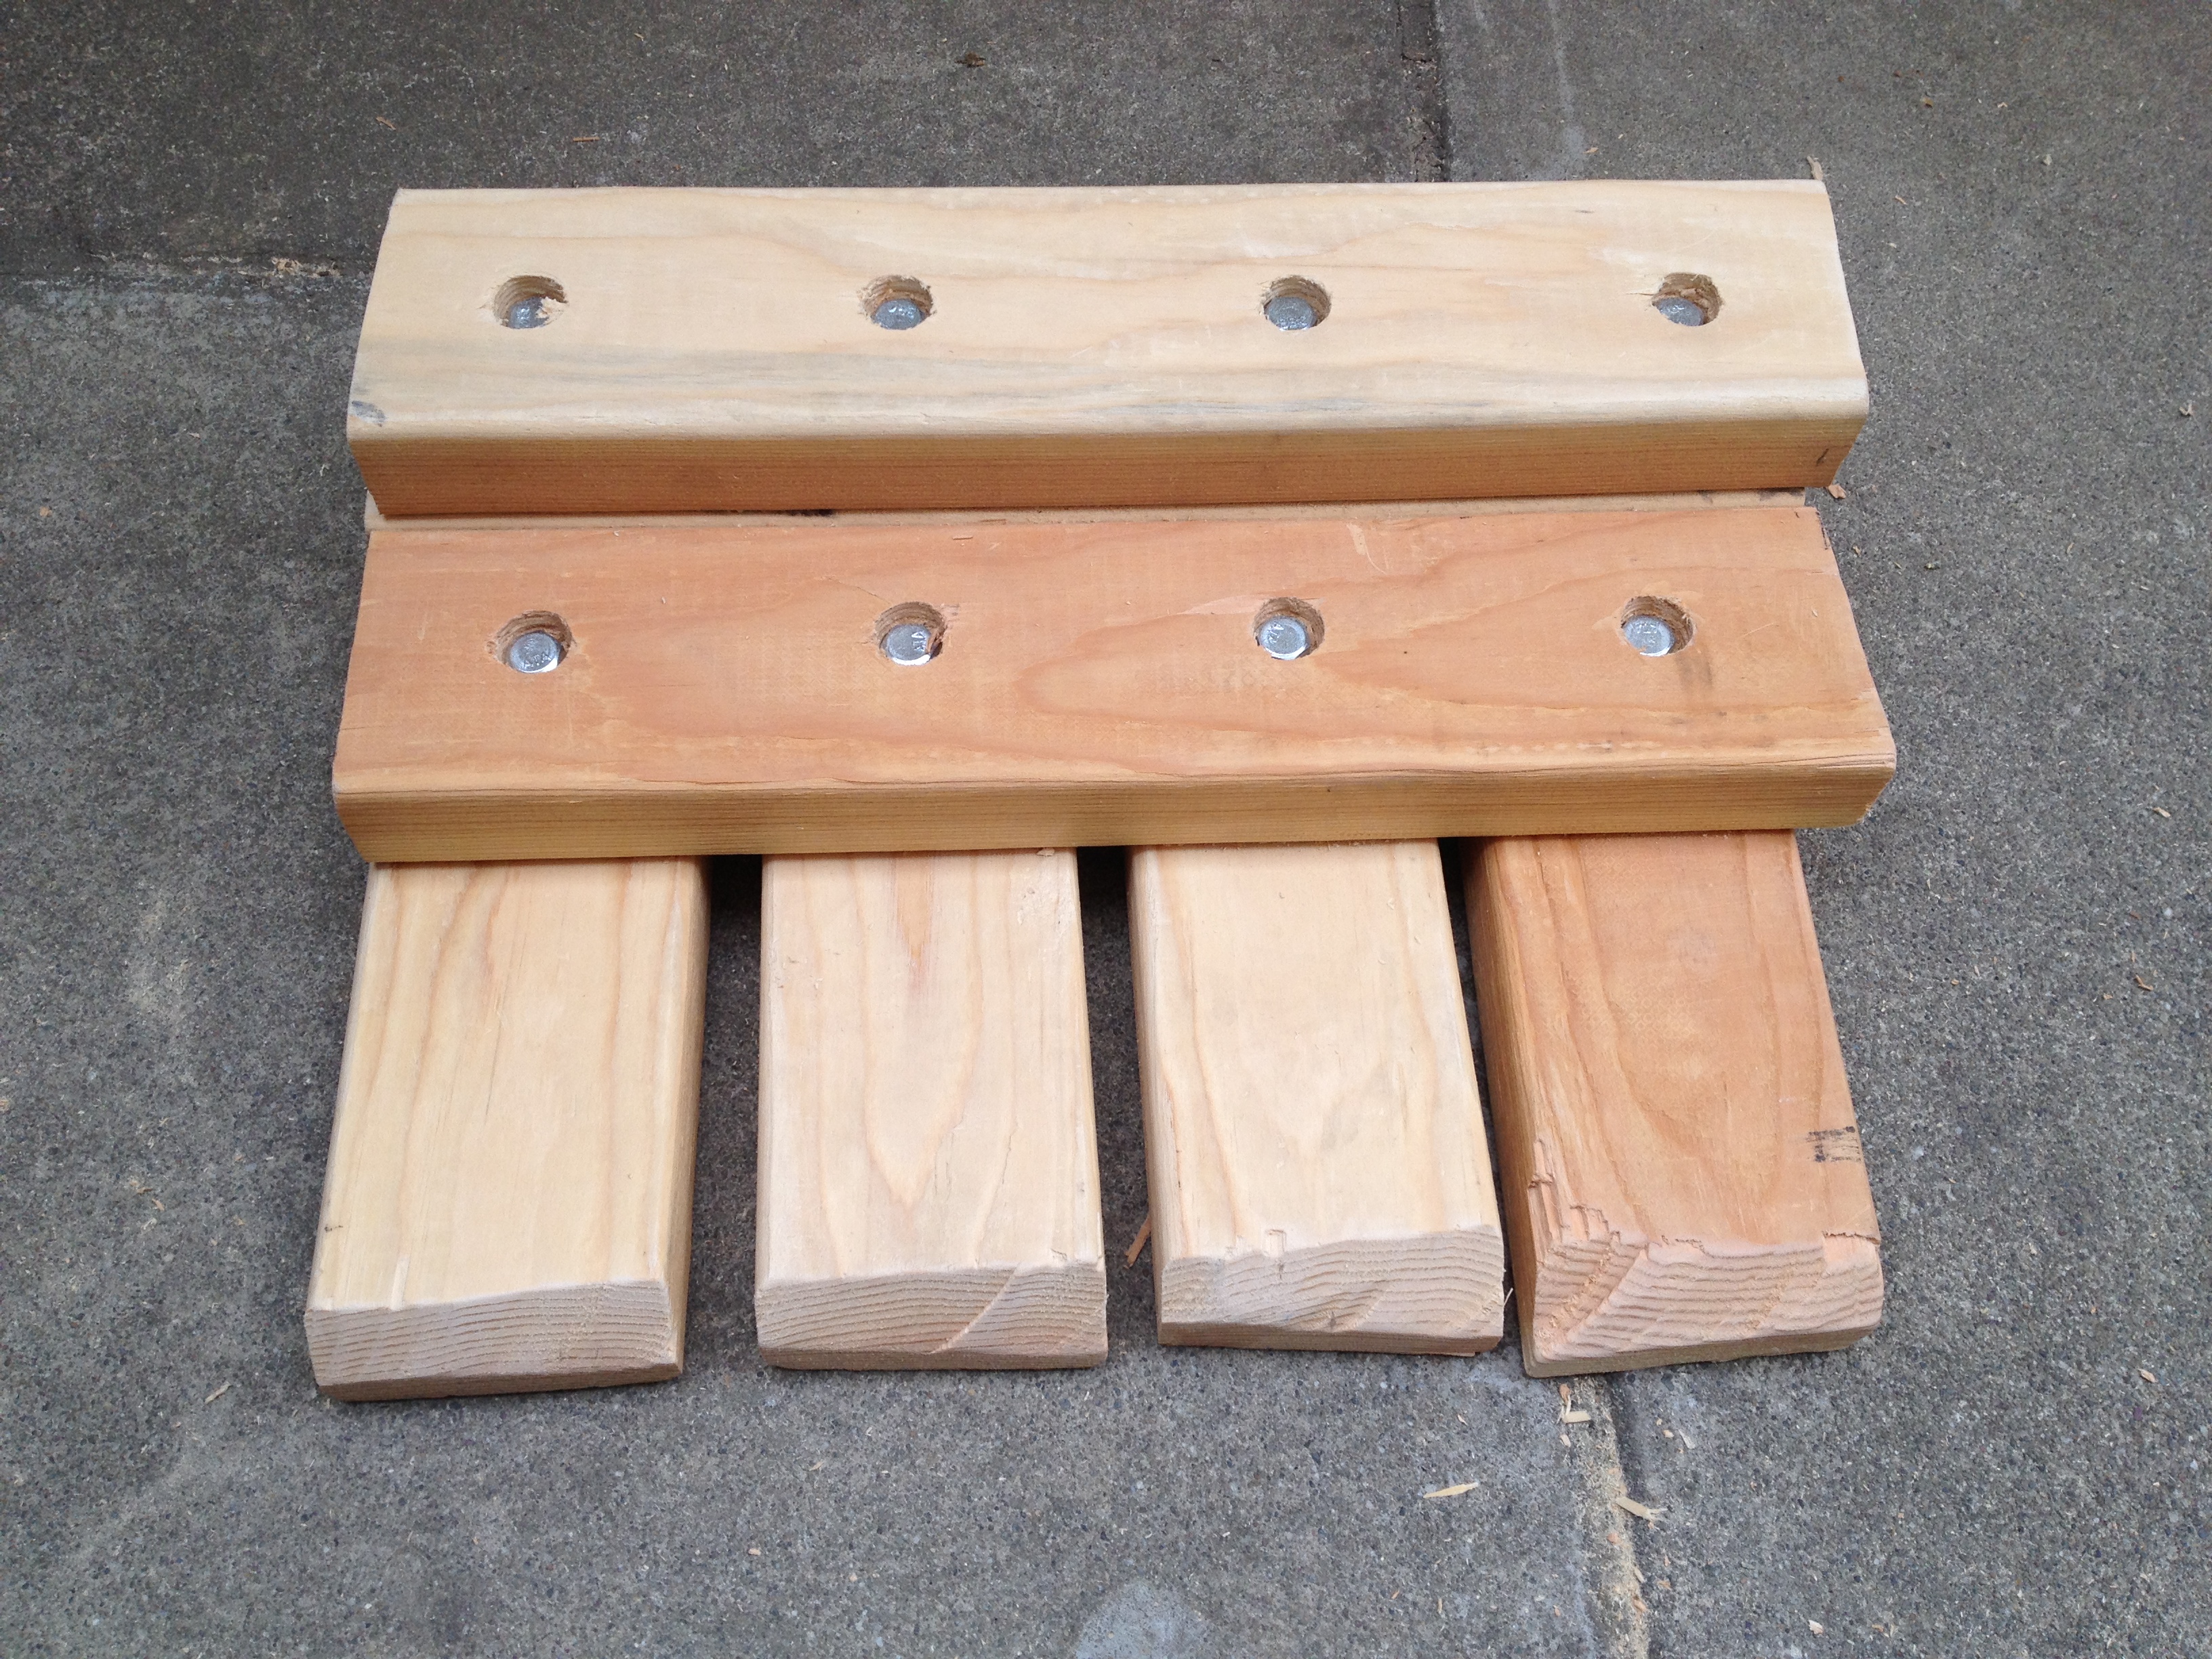
    Instead, he installed this one, which in my opinion is a mistake, no different from the original one:

    I came home last night exhausted but the problem had been fixed and the SF Giants won the World Series. Sweet.

    How to create a USB boot thumb drive of Microsoft Windows 7 iso file on a NetPC

    It’s inherently difficult to load Windows OS without a CD/DVD drive on a NetPC, which often comes with a “Starter” or low-end version of the Windows OS. In my case (an Asus 900HA), it was the Ubuntu Linux that I was trying to replace with Windows 7. I purchased a 3-license Windows 7 Premium Home version a while back from Microsoft Store. I first had to download the 32-bit .iso file version from Microsoft Store. Then I followed the directions in this website to install the Windows 7 OS without any problem. I just follow the instructions for Windows Vista and Voilia! It worked. To boot from USB thumb drive for Asus NetPC, the trick is the press F2 on the BIOS splash screen then set the Boot Order under HDD menu and select the USB thumb drive to be booted ahead of the original HDD. The author, Damien, came up with a different method for Windows 7 WinToflash. It looked a bit easier with a special software. But I didn’t follow that one as I didn’t see it. A strong endorsement to the website for helping me.