A visit to my rental property showed that the shower doors were stuck. I checked it out and found one of the two rollers that hung on the track was gone. I replaced the roller and got them moving again. This is a simple repair that cost around $6 for all 4 rollers and about 30 minutes. It’s amazing how people can live with wide open shower doors and not complaining about it. It’s no wonder that they saw the water bubble on the ceiling downstairs. Is it possible that water has splashed outside causing the damage? I wondered. Here is a quick video how I fixed the stuck shower doors.
Category Archives: Landlording
My Battle with the Attic Rats – an Update
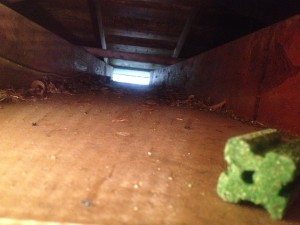
I was too early to claim victory over the rats in the attic of my apartment in my previous blog. The rat(s) came back with a vengeance. I’m assuming it’s more than one for now. Check out what they did do this bait box when I checked it yesterday:
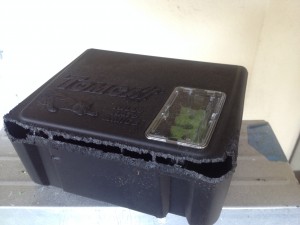
They were so anxious and probably too large to get to the bait. They almost cut over the bait box with their teeth. I decided to throw in more of the baits into the attics directly to treat them to a large last meal. Will update soon, I hope.
Critters (Rats) in the Attic – How I Fixed It
Two weeks ago, one of the tenants complained about the noise in the attic. Perhaps, an unpaid “critter” had taken a residency above them. My heart sank just imagining the work needed to chase out those critters. I had some “bad” experience in the past with a family of possums living in the attic in my previous home. I ended up battling that family for over a year . (I should’ve hired a professional though). I quickly checked and found the attic vent had an opening, thanks to the modern architecture of merging two roof lines, where it forms a natural shelter for animals. See below:
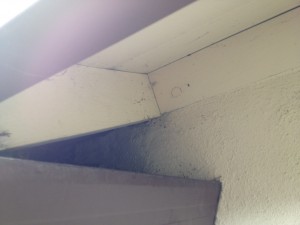
Close up here:
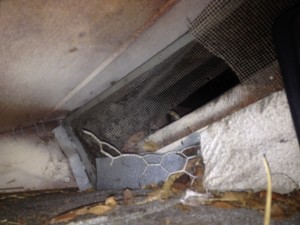
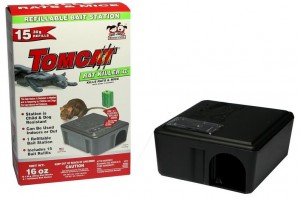
I suspected the unwelcome guests were either rats or squirrels. I assumed it’s probably a rat(s) due to the small hole. Decided to bait the rat with a rat poison like this one for maximum safety consideration:
After a couple of days, I went back to check and found the bait wasn’t even touched. Decided to toss one whole block of bait into the vent to maximumize efficiency. Sure enough. Two days later. The tenant reported a dead rat on the backyard and had since tossed it into the garbage can.
I will check back a couple of weeks to ensure all the rats were killed before sealing the vent back. Another disaster has been diverted.
Toilet Water Won’t Stop Filling/Running Upon Flushing – How I Fixed It
Last Saturday, one of my tenants called me and complained that the toilet water wouldn’t stop running upon flushing. They had to open up the tank lid, push down and hold down the flapper after each flush to stop the water flow, otherwise the water would keep refilling and going out to the toilet at the same – a sure way to waste lots of water that the apartment owner, I, may end up paying and wouldn’t serve the public good since we in California are in a serious drought situation. I was happy to take a look.
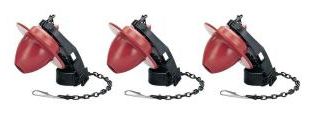
I noticed the flapper was really hard and not forming a good seal on the neck of the drain pipe into the toilet, hence the leak that results in the non-stop filling of the water into the tank. I suspected the flapper was too old and hardened as it aged after several years of service. I drove to the local Home Depot and purchased a set of 3 flappers like the picture below for ~$10:
I quickly snapped the old flapper out of the drain and snapped in the new flapper. It didn’t take more than 2 minutes. Now the flapper formed a nice seal on the neck of the drain and was no longer leaking.
However, I had to adjust the chain (by slipping the clip to the right position of the chain) that’s connected to the flush handle tight enough to hold the flapper in open position upon each push of the handle and yet lose enough to keep the flapper floating without re-sealing itself too quickly such that the solid waste would not be flushed out. It’s a delicate balance that takes some time and lots of trials and errors. But it now worked like a charm. I left the remaining two flappers with the tenant and hope they now learned how to do this on their own without bothering me.
T-junction Cast-Iron Drain Pipe from Hell
Yesterday, I had learned a few lessons about plumbing, specifically drain rooting and paid dearly for it. And I also learned that rooters’ experience vary widely.
The night before yesterday I got a call from one of the apartment tenant that the kitchen sink was backed up with sewer water. So I went to check it out. As I entered the unit, they told me the problem went away and apologized for the trouble. What a nice surprise! Life couldn’t be better when the tenant apologized for a problem that they no longer had. As I walked out, the tenant of the adjacent neighboring unit asked me to come check their plumbing as they were having some trouble with the sewer problem. As it turned out, they were having the same problem, except the sewer water spilled into the dish washer and the kitchen floor was flooded with the sewer water from the leaking dishwasher, which didn’t have the air gap – another pitfall for not having one. The sewer flooded the dish washer and spilled to the kitchen. The good news was that the problem had gone away. I scratched my head and thank my good fortune.
So I drove home, the last tenant called my cellphone as I was able to reach home that the problem has come back: sewer water. I told her that I will check back tomorrow morning hoping the problem would disappear by tomorrow.
The next morning, I called and found that problem didn’t go away after all. So I packed up my snake machine, tool box and headed there.
Unfortunately, both units were now backed up with the same problem. I suspected both kitchen sinks were connected to the same line. I scooped up the black, smelly water, opened up the P-trap, and started snaking down the pipe. Didn’t budge. Fortunately, the adjacent toilets drained OK, allowing me to dump the dirty water into the toilet. Tried a couple more times. No change. So I snaked from the other unit – more than 4 times – no change, but now I discovered that the dirty water came out when water ran in the bathroom sinks. Not good. The problem was big. It’s not just the kitchen sinks. More could be involved. Later, I found that Unit#3 in the back has its sewer connects to the same line.
I decided to call the professional. The first professional (yes, there were more) rooter came in with his professional Golitz 380 machine and kept the snake/cable turned and turned. He did it more than 6 times with some false successes in the middle for more than 2 hours. I was getting anxious as it was getting dark on Sunday and the Giants’ World Series game was about to start in a couple of hours, meaning most of the rooter professionals would be glued to the TV’s without a care for a sewer-flooded apartment. This guy told me that to fix the problem, he would need to route a water jet machine from the vent on the roof of the 2-story building to force out the stubborn sludge, which he cited was the source of the problem. And he didn’t have the machine and their company machine was more than 50 miles away and wouldn’t be available until 3pm the next day. Not good! He bid farewell and wished me luck without charging me for the work. Now I was really worried. I called the big-name rooter company, who I used before and who charged me dearly for fixing that problem.
The guy showed up within two hours. He snaked with another bigger machine to no avail. I suggested that maybe we should look into the crawl space and see what’s going on down there. He agreed and as soon as he crawled in, he saw the problem. It’s the T-junction cast-iron drain pipe from hell. See below picture.
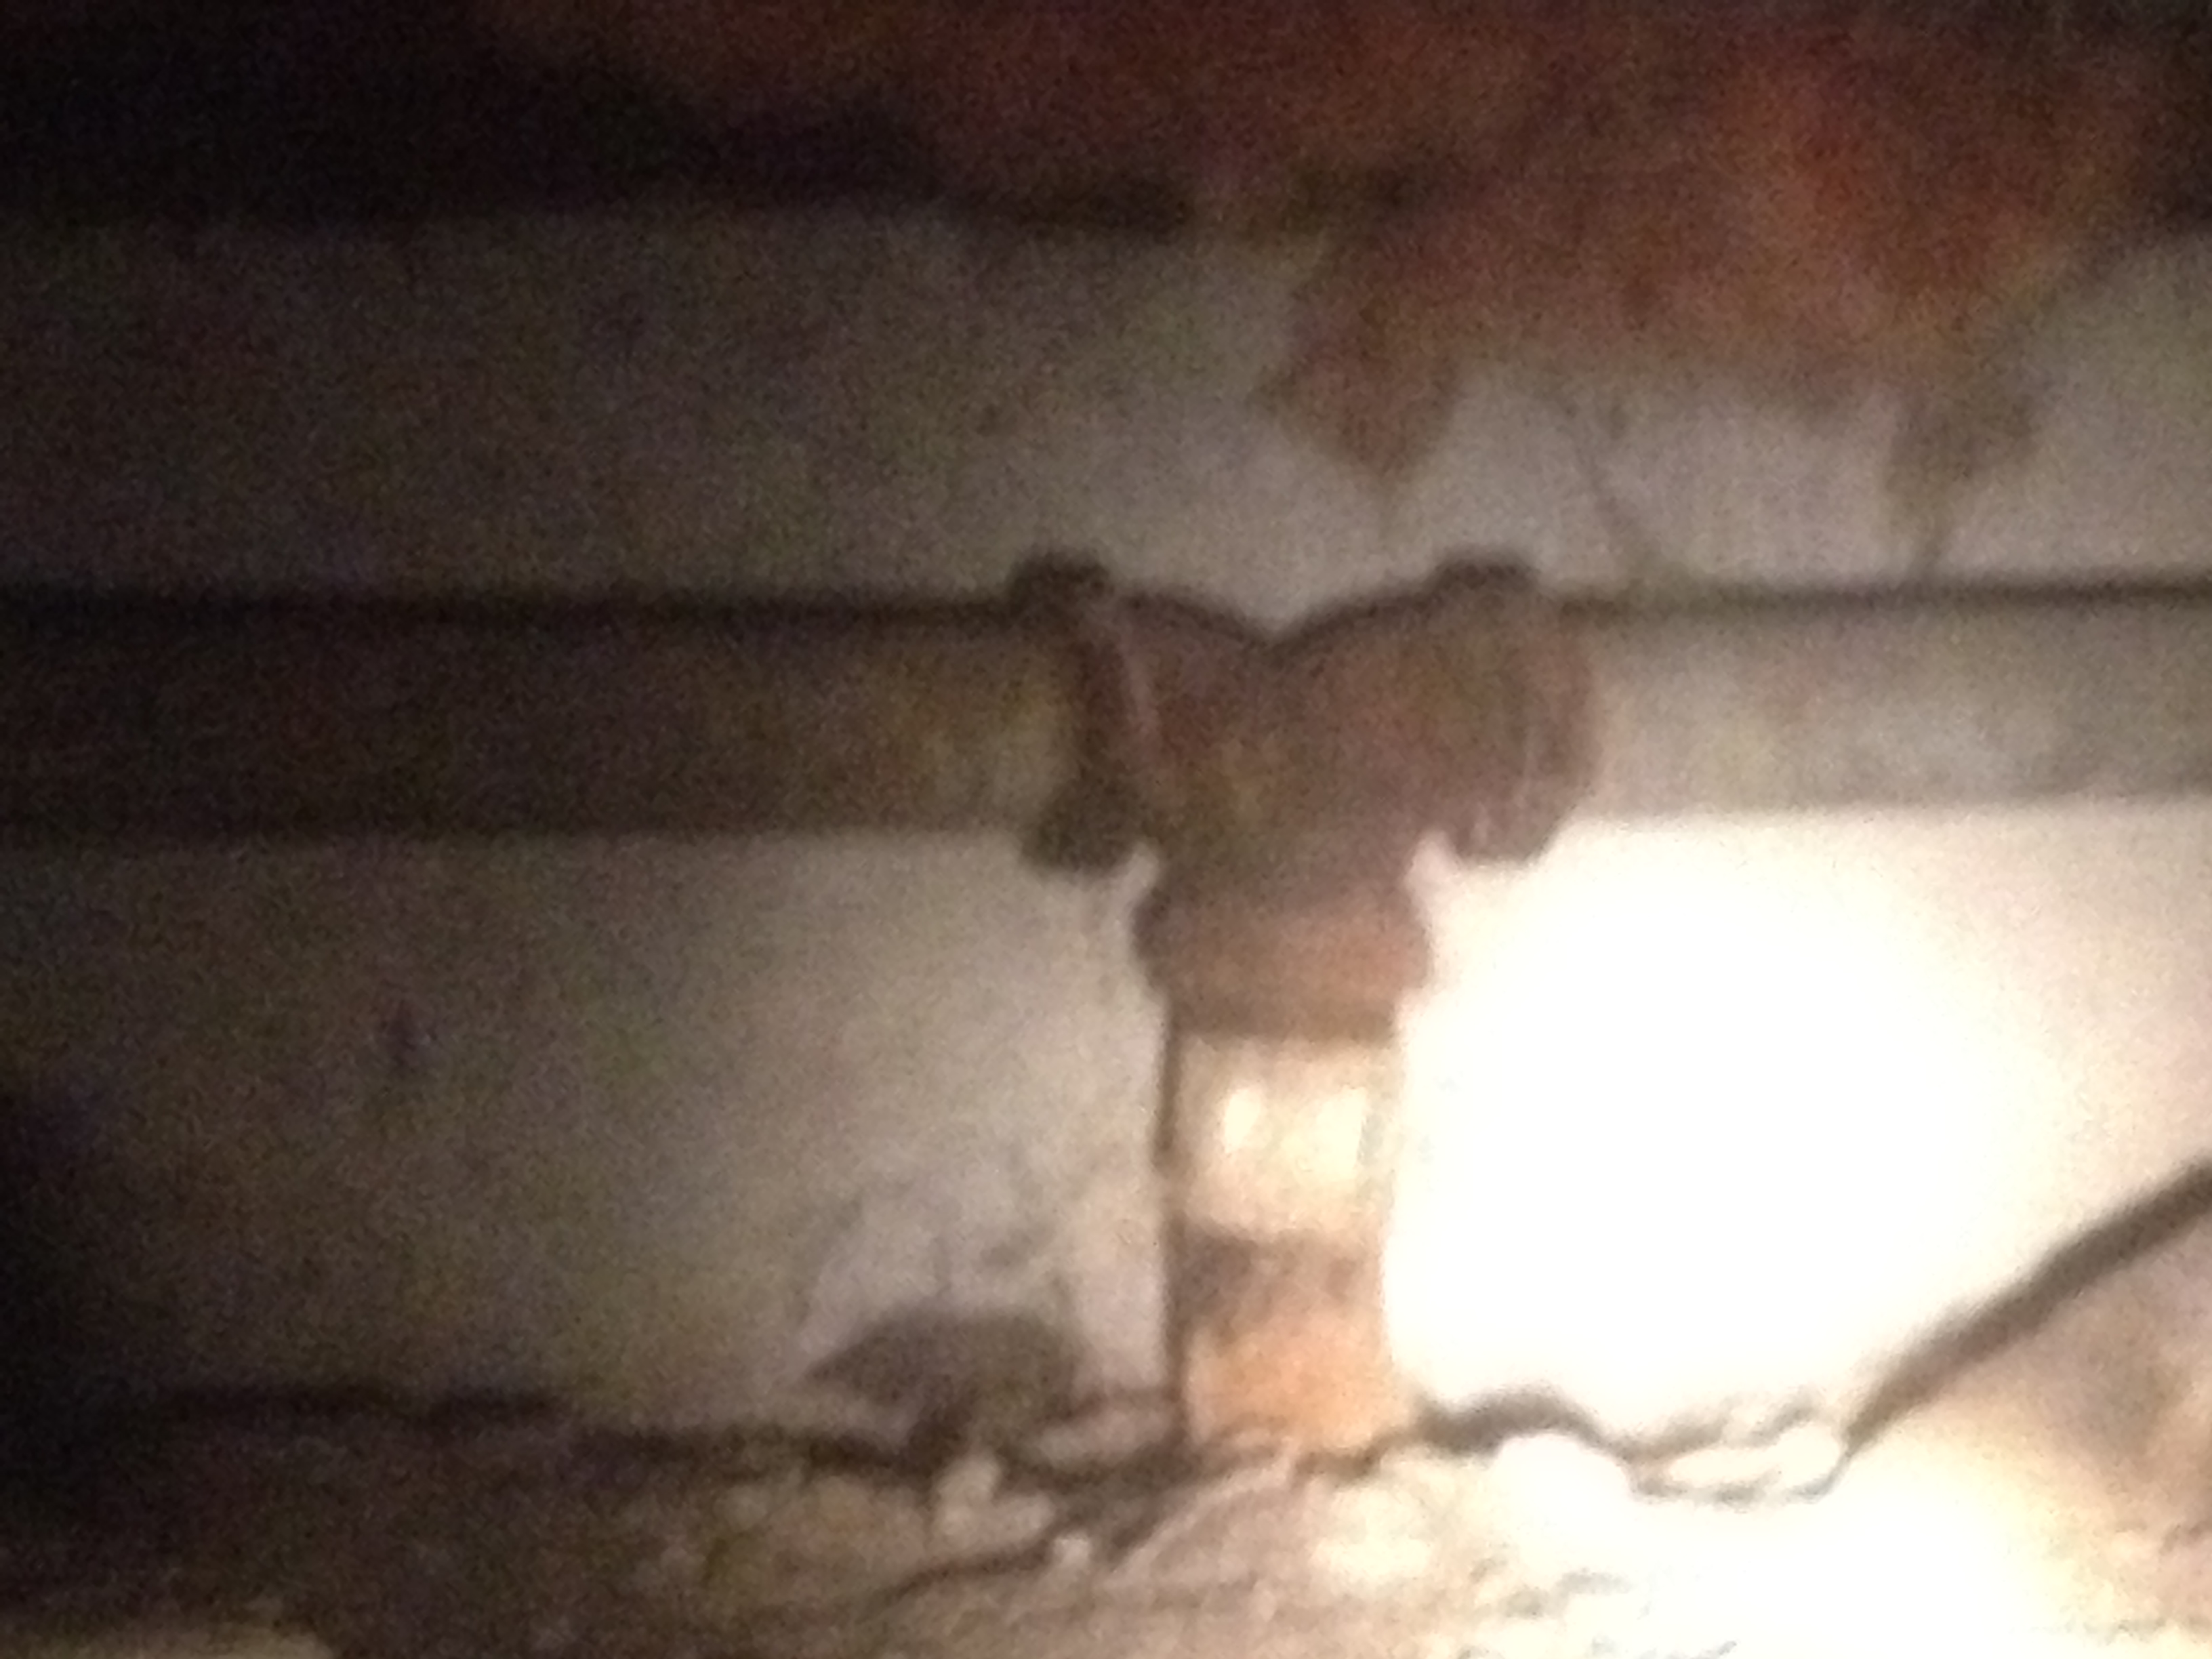
The snake/auger was passing by the mainline and going to the opposite side. It wasn’t driven into the center line, which was plugged up. It’s no wonder that I and the first guy snaked more than 10 times without getting to the root cause of the problem. He proposed that we cut open the T-junction and installed a ABS T-junction that would have a better curvature to allow the head of the snake to enter the main line in the future. And it would cost me about $1,000 instead of the $300 for the snaking. I gave him to go-ahead as I was getting tired and had no strength to argue or bargain. “Get the job done tonight!”, I told him.
It took him an hour to go out find the parts and another hour to fix the problem. He was able to snake after the T-junction was cut out, before assembling the new ABS T-junction (which I don’t believe can prevent snakes from passing through it acting like the old one but at least it could be easily disassembled to snake in as they were joined by rubber hose with clamps). The clog was only a few feet down the center line. He came out of the crawl space with drain water all over his back. He looked awful but he looked like a hero, a richly rewarded one, to me.
In retrospect, I suspect the snake could have reached the center line if there is a “heavy” accessory tied to the tip of the snake, allowing it to drop into center line. And we could have tried many times had we estimated the distance from the sink, which was only < 10'. It would have helped to have a drain pipe schematic diagram for the entire building. And a better ABS elbow below should be used. 
Instead, he installed this one, which in my opinion is a mistake, no different from the original one: 
I came home last night exhausted but the problem had been fixed and the SF Giants won the World Series. Sweet.
Rooting and snaking drains
As much as I hate doing plumbing work, there would be days when I need to do the dirty work of rooting a stuffed/slow train as the “joy” of the home and rental-property ownership. Last week was those days and I learned a few things I would like to share:
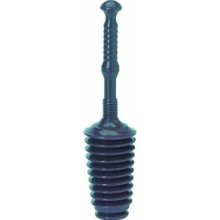
1. Stuffed toilet is best tried with a good accordion type of plunger shown as below: Of course, one must be careful not to make a mess; making the person who created the situation to clean up the mess may help prevent future occurrences.
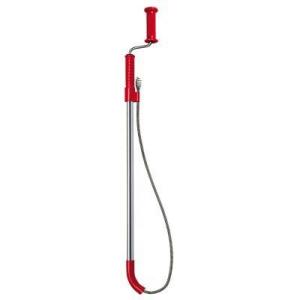
2. If the above doesn’t work, then the toilet snake may be deployed. I used the 6-ft model below to ensure the “thing” gets pushed out farther away from the toilet. Make sure the rubber hose protection hug around the neck of the toilet to prevent scratches to your porcelain toilet. I found this tool to be very effective in cleaning up just about anything that got thrown into the toilet.
3. To fix the slow tub train, I used a simple handheld snake with an electric drill. Below is a good Youtube video that may help. I don’t necessarily endorse this particular electric snake/auger machine as I don’t own it but the outlined safety steps and the techniques (like backing off when reaches resistance during snaking) are right on the dot. In my particular case, I had tried snaking this tub several times. I even hired a “professional” rooter to do it without much success. (He just told me there is something “hard” in the path and gave up without fixing it and charging me – bless his soul.) In this case, I snaked in roughly 3 ft from the tub vent before hitting a hard resistance. In all past trials, I tried forcing the snake through and ended up kinking the snake cable and got stuck and eventually gave up. I suspected the P-trap design for this old tub has a sharp angle or too big a diameter that caused the snake cable to curl on itself. But This last time I tried backing off a bit while turning and pushing in a bit several times before making the breakthrough – my Voila moment. Patience and persistence are the key steps toward cleaning out a stubborn stuffed drain. Of course, good techniques help.
Old Zinsco Circuit Breaker Couldn’t Take Any Load
My tenant complained that the outlet for the refrigerator didn’t have power and he had to move to a different outlet to get power. The same problem happened to a couple of outlets around the kitchen.
I immediately suspected that the circuit breaker was tripped. But the tenant insisted that he played with the circuit breaker already without success. Then I got worried. Something is shorted and it’s not easy to find the shorts if they are internal.
When I got there, I waved my magic touchless electrical sensor and found that outlets were not hot (no power). So played with the circuit breakers and found that the outlets could be hot if there was no load. But as soon I plugged something in, the power went out. This is actually good news. Because it pointed to the circuit breaker couldn’t take the load – no shorts.
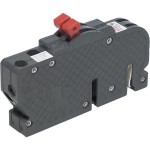
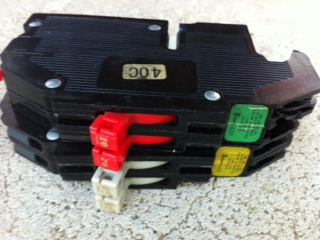
The circuit breakers are of the Zinsco type, manufactured by Connecticut Electrics. They are expensive ~ $50 each, a cash cow business for the company as the parts are no longer used in new homes. But they were installed in so many old homes including my apartment. Fortunately, I was able to buy it at my local Lowe’s Store. Home Depot had them too but more expensive – unusual that it’s more expensive at Home Depot than Lowe’s.
I was able to replace the 20A breaker and fixed the problem. In fact, I replaced one of the 40A oven breaker too as it was pretty loose – didn’t want to do this again. It took some maneuvering to remove the old breakers but the new breakers took care of the problem.
The lesson learned is that the circuit breaker can have a failure mode of tripping on very low load. This is good actually because it prevents the more sever failure mode of not tripping when it should be.

